
Superadmin Notify
Create targeted notification campaigns, select Admin and User recipients, choose delivery channels, and send notifications immediately or schedule them for later.
Last updated August 19, 2026
Superadmin Notify
The Notify section allows the Superadmin to create and deliver targeted messages to Admins and Users across the Open VTS platform.
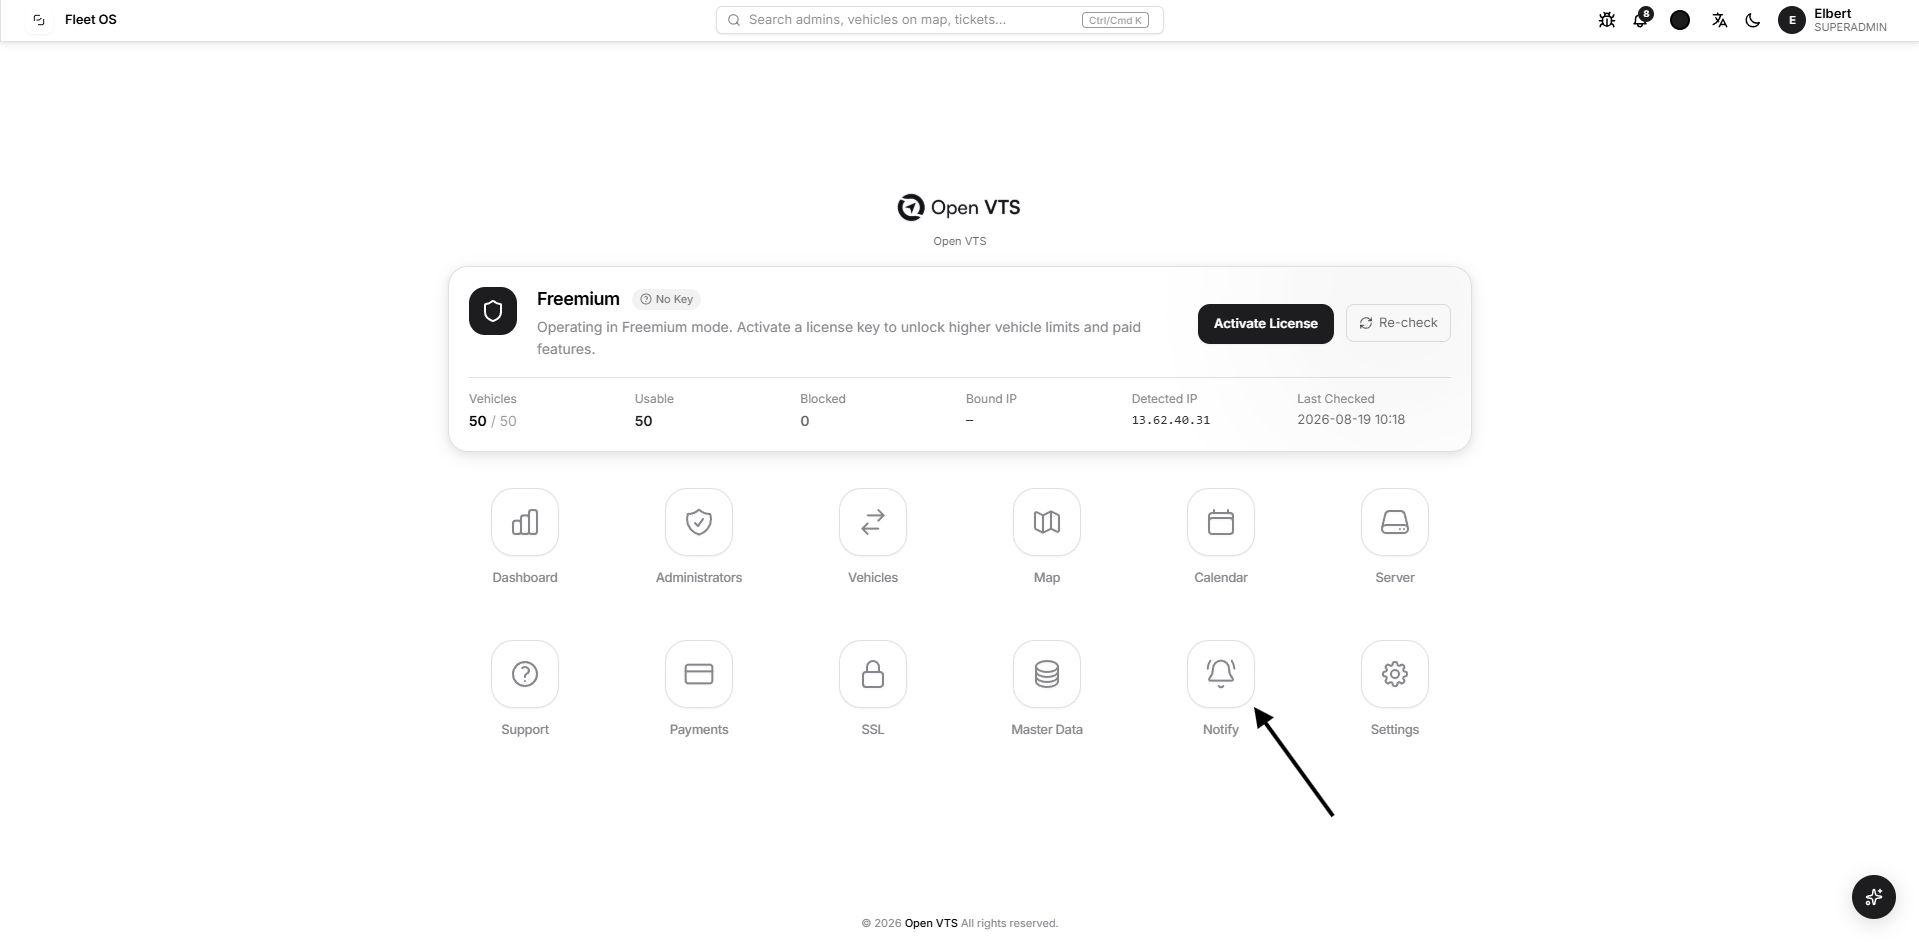
A notification campaign can be prepared by selecting:
- Delivery channels
- Campaign recipients
- Subject and message
- Category and severity
- Optional call-to-action
- Immediate or scheduled delivery
Before sending, Open VTS provides a final review of the campaign, selected audience, channels, and estimated eligible recipients.
Open the Notify Section
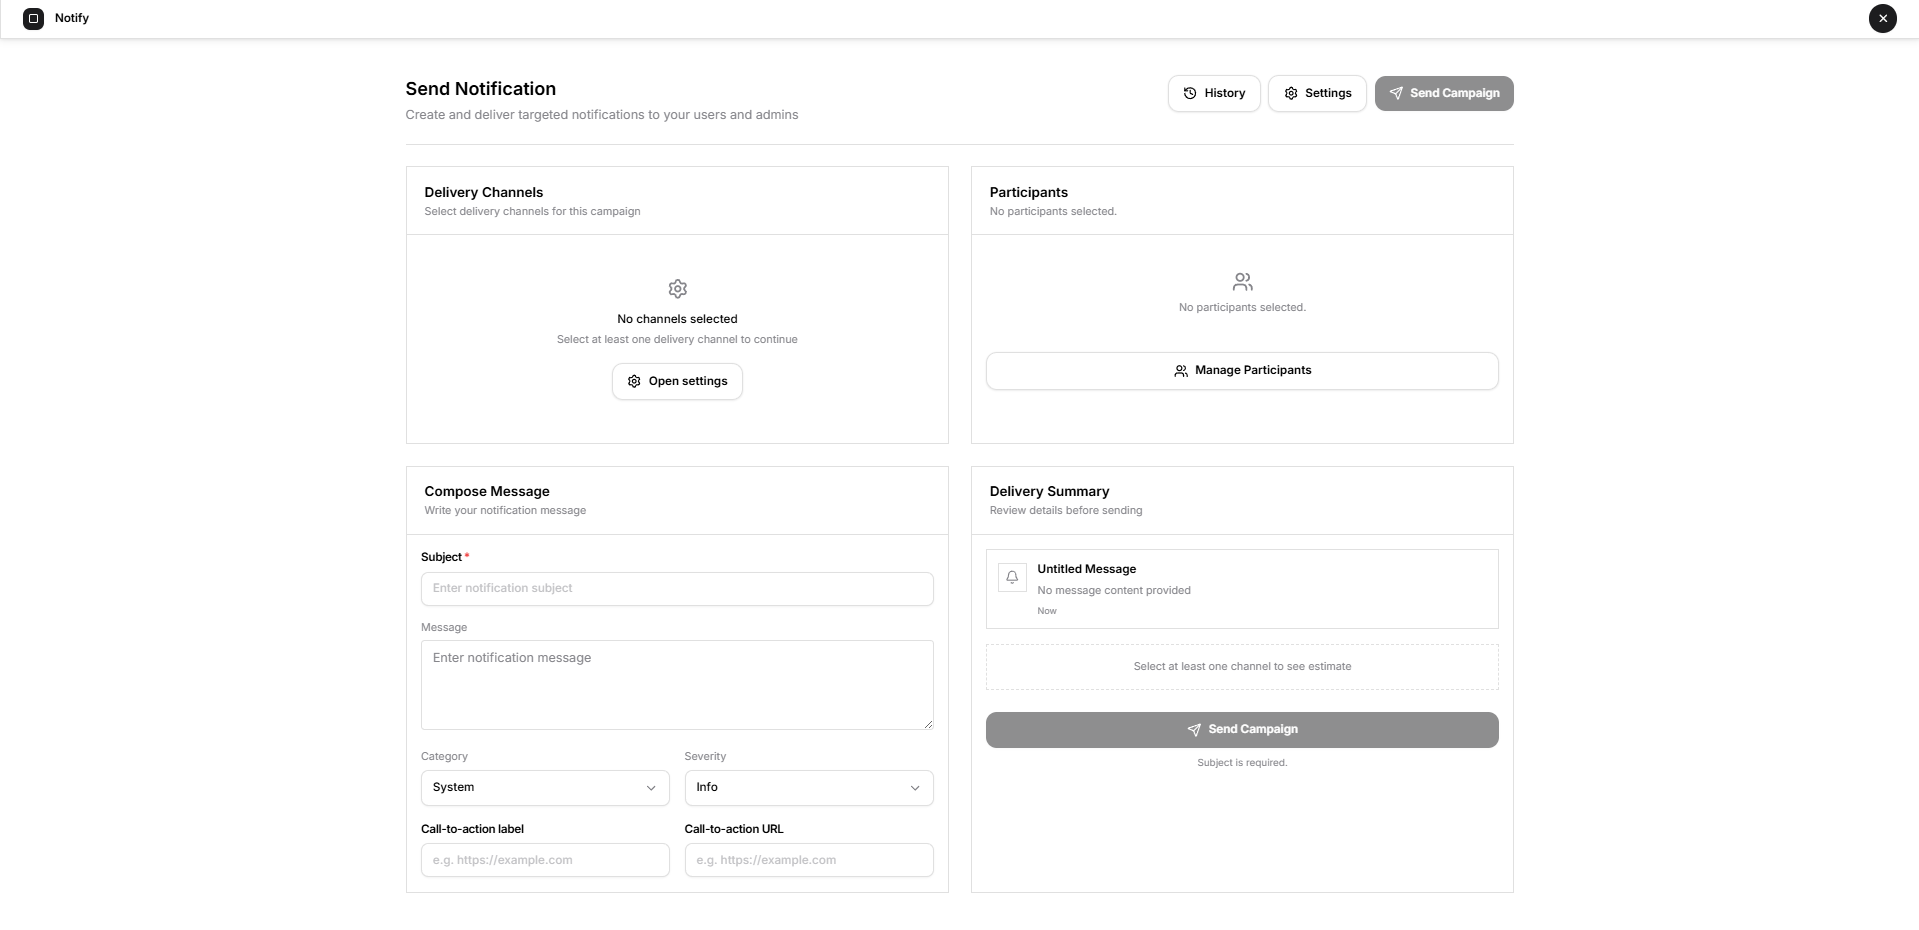
From the Superadmin home page, select Notify.
The Send Notification page opens with four main areas:
- Delivery Channels
- Participants
- Compose Message
- Delivery Summary
The page header also provides access to History, Settings, and Send Campaign.
Delivery Channels
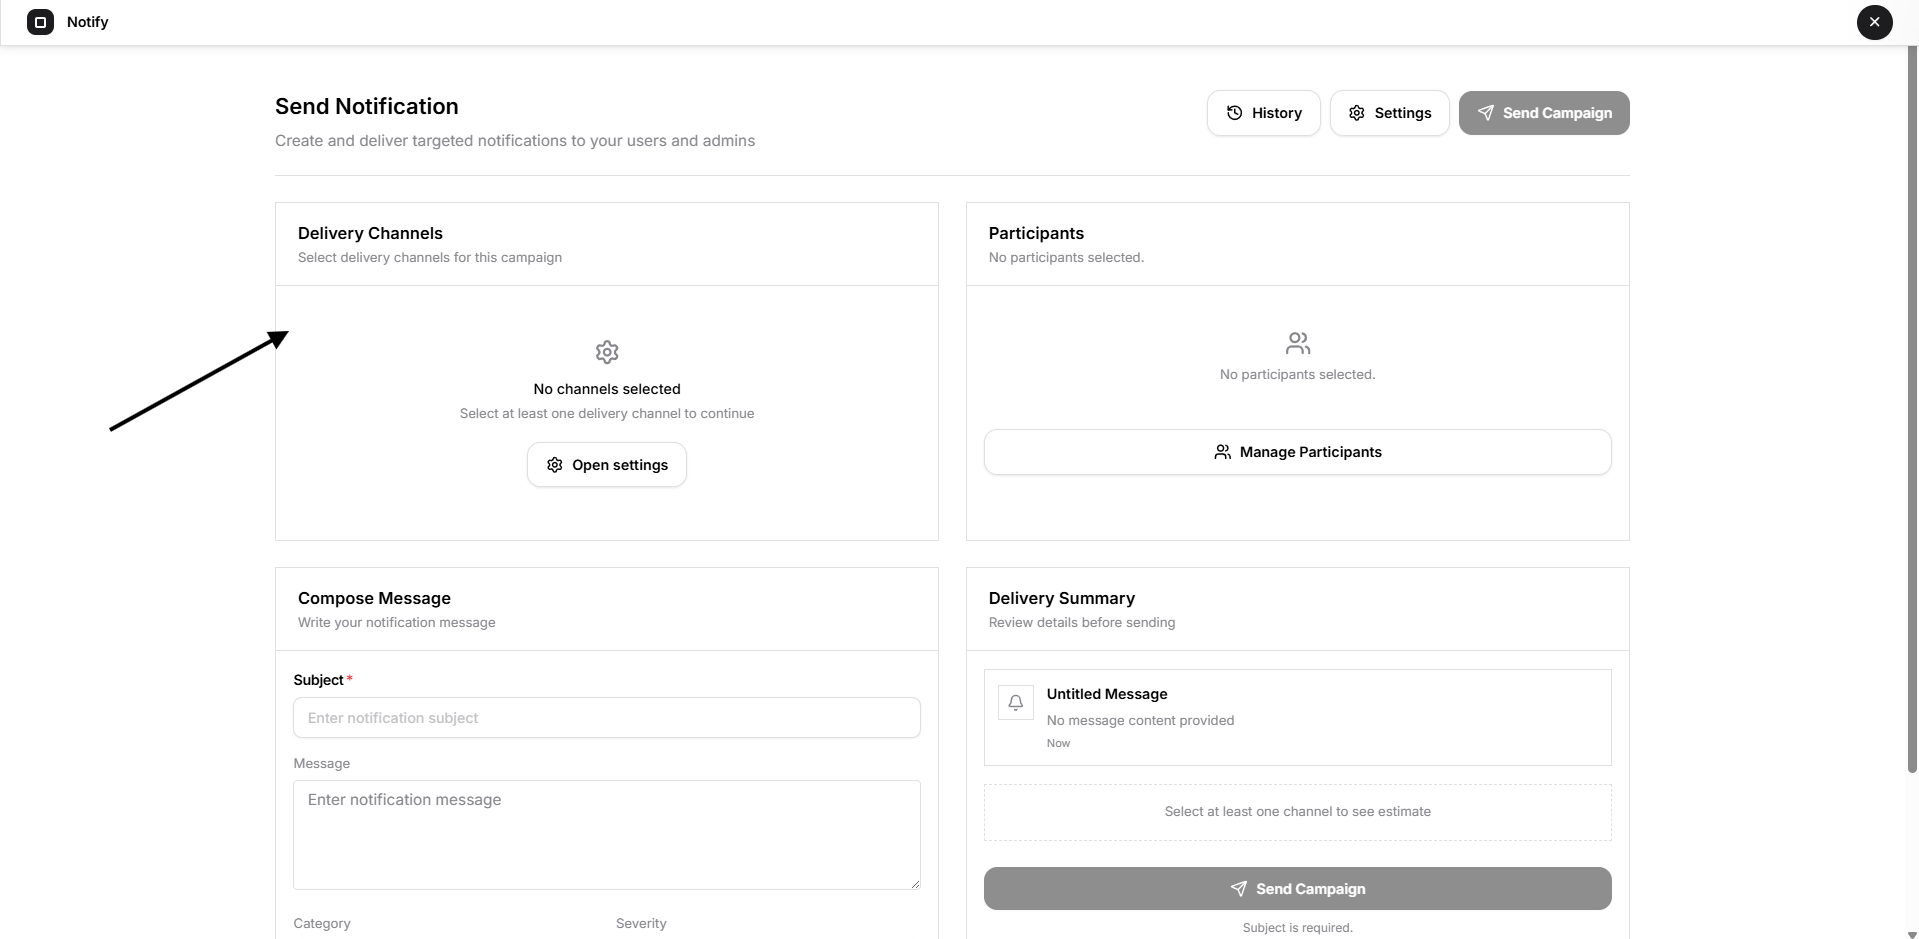
The Delivery Channels section determines how the campaign should reach its recipients.
Open VTS currently displays the following channels:
Sends the notification through the SMTP configuration connected to Open VTS.
Email delivery requires:
- A working SMTP configuration
- A valid recipient email address
- Successful communication between Open VTS and the configured mail server
Web Push
Sends browser-based push notifications to eligible recipients.
Delivery depends on the recipient having a supported browser and an active browser notification subscription.
Mobile Push
Sends push notifications to the Open VTS mobile application through the configured Firebase service.
Delivery depends on the mobile push configuration and the recipient having a registered mobile application notification token.
Select the required channel by clicking its row. The selected channel is highlighted and displays a check mark.
More than one delivery channel may be selected when the campaign needs to reach recipients through multiple supported methods.
A recipient may be skipped when the selected delivery channel is not available for that account.
Manage Participants
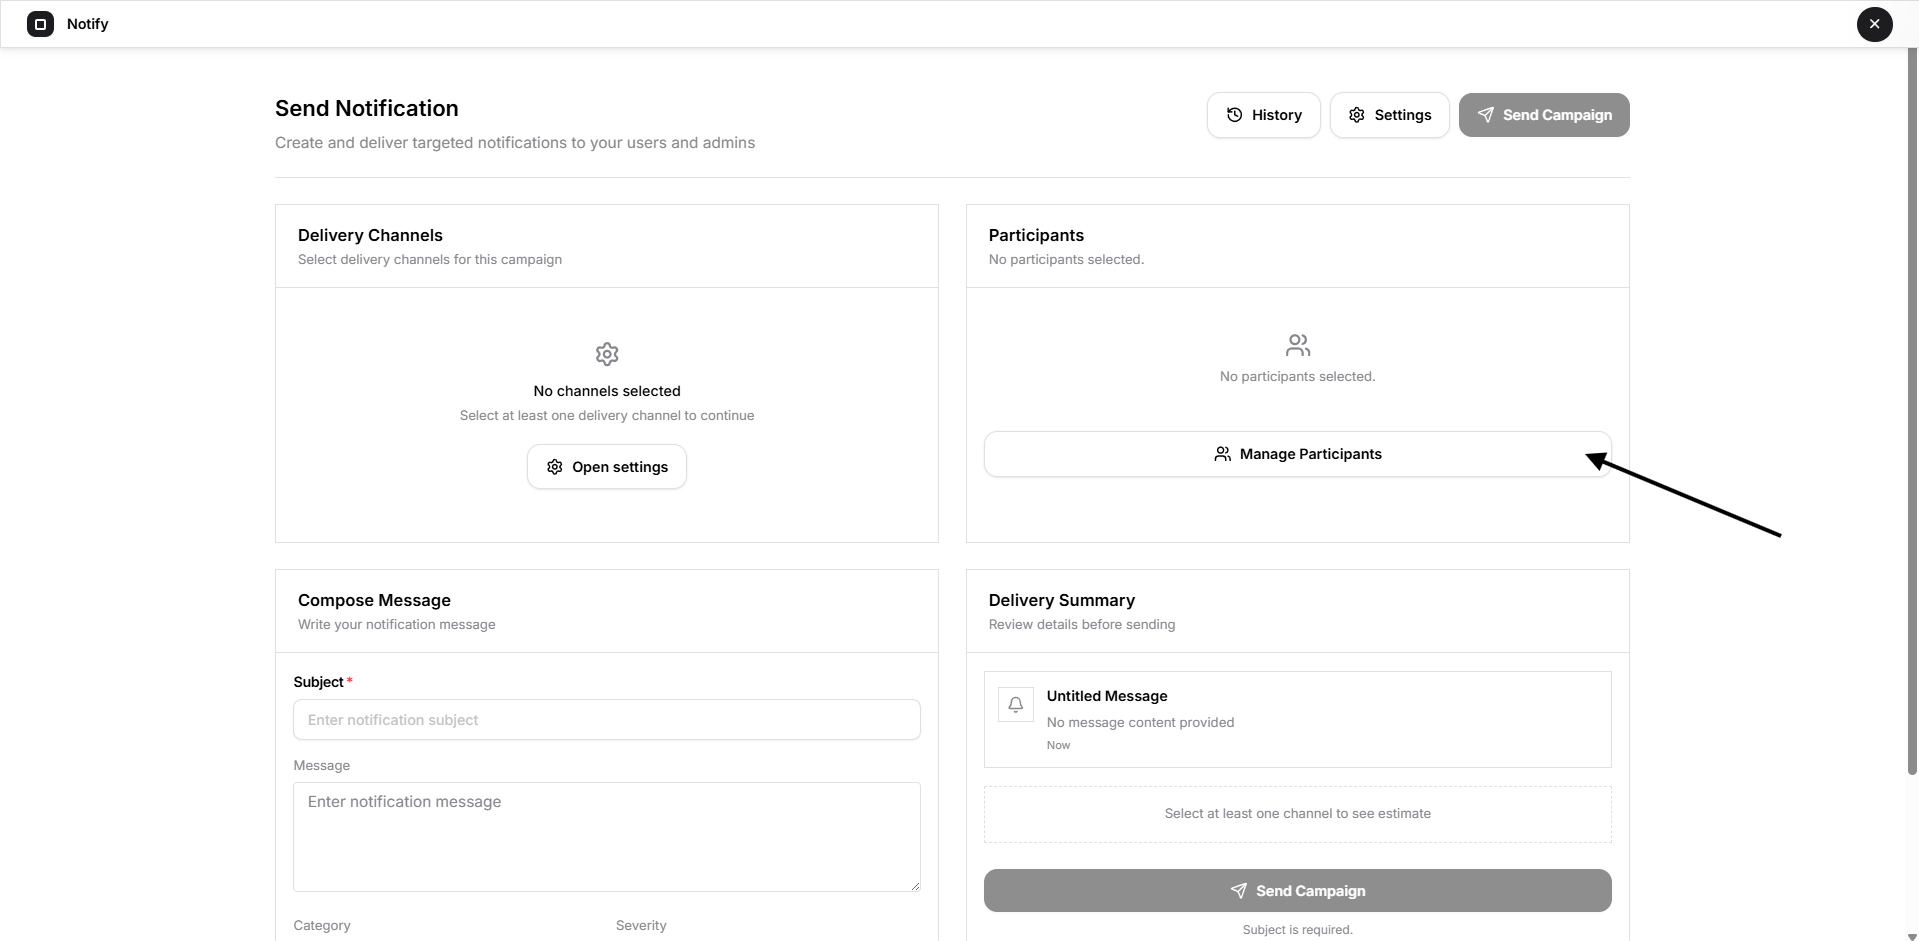
The Participants section defines who should receive the campaign.
Select Manage Participants to open the recipient-selection window.
Audience Modes
The left side of the window provides four audience-selection modes.
Selected Recipients
Use this mode to select specific Admins or Users individually.
This is suitable for targeted communication that should only reach selected accounts.
All Admins
Selects every Admin available within the Superadmin hierarchy.
Use this for platform announcements intended for all Admin accounts.
All Users
Selects Users managed below the available Admin accounts.
Use this for communication intended for platform Users rather than Admins.
Admins + Users
Includes both Admins and their associated Users.
This is suitable for platform-wide announcements that apply to the complete account hierarchy.
Select Specific Recipients
When Selected Recipients is active:
- Use the search field to find an Admin.
- Select Add beside the required Admin.
- Expand an Admin record when access to associated Users is required.
- Continue adding the required recipients.
- Review the selected accounts in the Selected Recipients panel.
- Select Apply Selection.
The selected-recipient panel displays:
- Total selected recipients
- Number of selected Admins
- Number of selected Users
- Name and role of each selected account
- Associated company where available
Select the remove icon beside a recipient to remove only that account.
Select Clear All to remove the complete selection.
Review the recipient list carefully before applying the selection, especially when sending billing, security, or operational messages.
Compose the Message
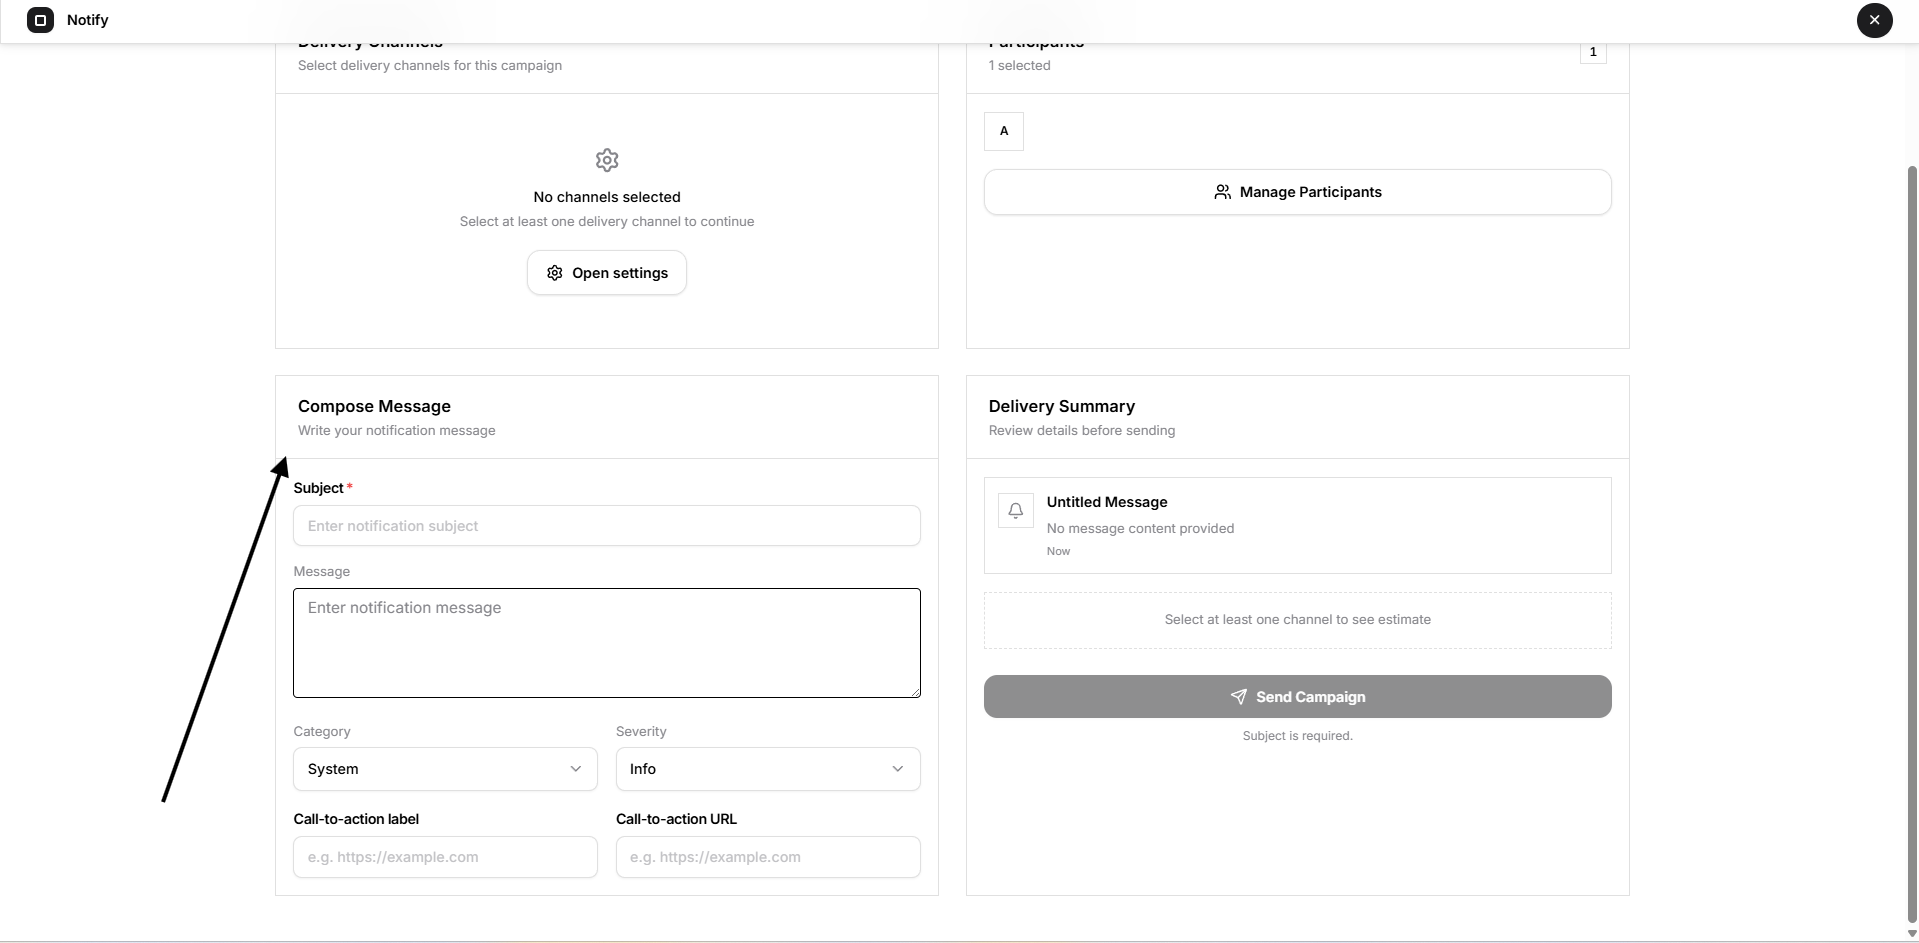
The Compose Message section contains the notification content and campaign classification.
Subject
Enter the main notification subject.
The subject is required before the campaign can be reviewed or sent.
Use a clear and specific subject that helps recipients understand the purpose of the message immediately.
Example:
Scheduled Platform Maintenance
Message
Enter the complete notification message.
Keep the message direct and include any action the recipient is expected to take.
Example:
Open VTS will undergo scheduled maintenance on Sunday from 02:00 to 03:00. Live tracking may be temporarily unavailable during this period.
Avoid including passwords, API keys, private credentials, or confidential internal information.
Category
Category identifies the purpose of the campaign.
Available categories shown in the current interface are:
CategoryRecommended useSystemPlatform changes, maintenance, or service informationAlertImportant conditions requiring attentionReminderUpcoming actions, deadlines, or scheduled activitiesBillingPayment, credit, invoice, or subscription communicationSecurityLogin, password, access, or security-related communicationReportInformation about reports, summaries, or generated records
Choose the category that most accurately represents the message.
Severity
Severity communicates the importance of the notification.
Choose the appropriate severity based on the urgency and operational impact of the message.
Use lower severity for routine information and higher severity only when the message requires immediate attention.
Do not classify ordinary announcements as critical or urgent, as excessive high-severity notifications can reduce their effectiveness.
Call-to-Action
A notification can include an optional action that directs the recipient to a relevant page or external location.
Call-to-Action Label
Enter the text that should appear as the action.
Examples:
Open Dashboard View Report Review Payment Update Settings
Call-to-Action URL
Enter the complete destination URL.
Example:
https://tracking.example.com/dashboard
Use a secure https:// URL whenever possible.
Both fields should refer to the same action. Do not add a label without a usable destination URL.
Delivery Summary
The Delivery Summary provides a live preview of the campaign before it is sent.
As the campaign is configured, the summary reflects:
- Subject
- Message
- Delivery timing
- Selected participants
- Campaign readiness
The Send Campaign button remains unavailable until the required information has been completed.
Review this area before continuing to confirm that the campaign content and recipient selection are correct.
Review the Campaign
After completing the message, channels, and participants, select Send Campaign.
The Review Campaign window opens before any delivery jobs are created.
The review displays:
- Campaign readiness
- Subject and message
- Audience mode
- Target scope
- Selected channels
- Delivery timing
- Estimated recipients
- Eligible recipients
- Skipped recipients
Estimated Recipients
The estimated-recipient section shows how many accounts are expected to receive the campaign through the selected channels.
The review may display:
- Total estimated recipients
- Eligible recipients
- Skipped recipients
A skipped recipient is not included in the delivery for the selected channel. This may occur when the required delivery information or channel registration is unavailable.
Review unexpected skipped recipients before confirming a large or important campaign.
Send the Campaign Immediately
Select Send Now when the campaign should be delivered as soon as it is confirmed.
The review displays that delivery jobs will be created immediately.
To continue:
- Review the campaign message.
- Confirm the audience and target scope.
- Verify the selected delivery channels.
- Review eligible and skipped recipients.
- Select Send Notification.
After confirmation, Open VTS creates the required delivery jobs for eligible recipients.
Use Back to Edit when any campaign information needs to be changed.
Sending a campaign may create notifications for many accounts. Always verify the selected audience before confirming.
Schedule a Campaign
Select Schedule for Later when the notification should be delivered at a specific future date and time.
To schedule the campaign:
- Select Schedule for Later.
- Open the date-and-time field.
- Choose the required future date.
- Select the required delivery time.
- Review the selected schedule.
- Select Schedule Campaign.
The campaign will remain scheduled until its configured delivery time.
Use Back to Edit to change the campaign before scheduling it.
Before confirming, verify:
- The selected date is correct
- The selected time is correct
- The campaign is still relevant at the scheduled time
- The recipients and delivery channels are correct
Notification History
Select History from the top of the Notify page to open the notification-history area.
Campaign history should be used to review previously created campaigns and their available delivery information.
The detailed controls inside the History area are not included in the current screenshots and should be documented separately when its screens are captured.
Notification Settings
Select Settings to open notification-related configuration.
Channel availability may depend on configuration such as:
- SMTP settings for Email
- Browser push configuration for Web Push
- Firebase configuration for Mobile Push
The detailed Settings controls are not shown in the current screenshots and should be documented after those screens are captured.
Recommended Campaign Workflow
Use the following sequence when creating a notification:
- Confirm that the required delivery channels are configured.
- Select one or more delivery channels.
- Open Manage Participants.
- Choose an audience mode or select individual recipients.
- Apply the recipient selection.
- Enter the subject.
- Enter the message.
- Select the category.
- Select an appropriate severity.
- Add an optional call-to-action.
- Review the Delivery Summary.
- Select Send Campaign.
- Review the estimated and skipped recipients.
- Choose Send Now or Schedule for Later.
- Confirm the campaign.
Best Practices
- Use specific recipients for sensitive or account-specific messages.
- Use broad audience modes only for genuinely platform-wide communication.
- Keep subjects short and recognizable.
- Place the most important information at the beginning of the message.
- Select a category that accurately represents the campaign.
- Reserve high severity for genuinely urgent communication.
- Test SMTP, web push, and mobile push before sending large campaigns.
- Review skipped-recipient counts before confirming delivery.
- Verify scheduled dates and times carefully.
- Never include passwords, private keys, or confidential credentials.
- Confirm all URLs before including a call-to-action.
- Use Back to Edit whenever the final review contains incorrect information.